
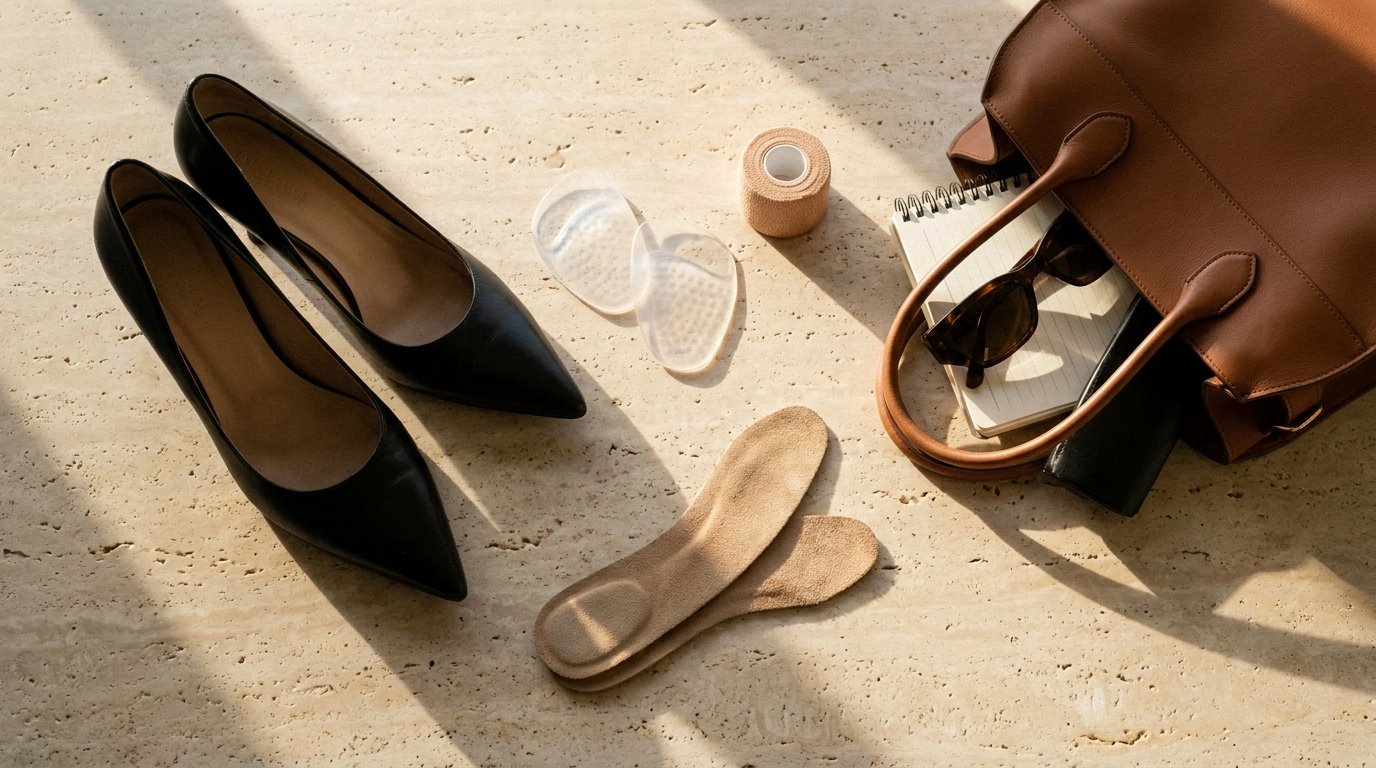
Wearing high heels often feels like an unavoidable trade-off between commanding elegance and excruciating discomfort. The secret to mastering how to wear heels without pain is not enduring the throbbing or slapping generic bandages over broken skin; it comes down to understanding foot kinematics, managing shoe pitch, and utilizing structural adjustments. When you wear elevated shoes, up to 75% of your body weight shifts directly onto your delicate metatarsal heads.
By addressing pressure redistribution, shoe construction, and friction vectors before you leave home, you can wear your favorite pumps, stilettos, and block heels for hours with complete poise. Below, we break down 14 tested, biomechanically sound adjustments that transform painful footwear into supportive power pieces.
Ergonomic & Comfort Note: Strategic footwear modifications, arch supports, and gait adjustments effectively eliminate standard event fatigue and pressure points. However, persistent sharp nerve pain, numbness, or structural joint inflammation often indicates a fundamentally incompatible shoe last or an underlying podiatric condition that inserts cannot fix. Never force your feet into footwear that causes severe, acute distress.
The Biomechanics of Heel Pain: Pitch, Pressure, and Friction
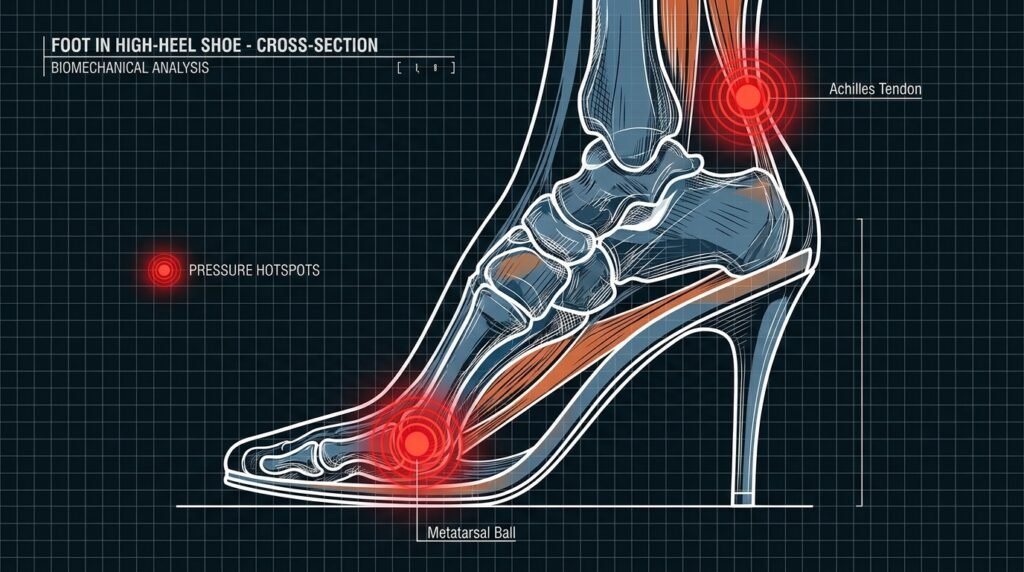
Heel pain stems from three mechanical failures: excessive forefoot load, incorrect shoe pitch, and shear friction against the skin. Understanding which force is causing your distress allows you to apply the correct intervention immediately.
- Metatarsal Overload: A flat shoe balances body weight roughly 50/50 between the calcaneus (heel bone) and the ball of the foot. A 3-inch heel shifts roughly 75% of that load onto five delicate metatarsal bones.
- Shoe Pitch vs. Heel Height: Pitch refers to the steepness of the angle between the heel seat and the ball of the foot. Two shoes can both feature a 4-inch heel, but a shoe with a forward-placed heel peg and a short shank forces your foot into a severe drop, while an arched, balanced shank spreads that gradient evenly.
- Micro-Slippage and Shear Friction: When your foot slides forward into the toe box, your toes cram together, and your heel repeatedly slips out of the back counter. This generates concentrated heat and shear friction, creating instant blisters.
Structural Fit and Sizing Hacks Before You Step Out
1. Match Your Forefoot Width to the Shoe Last
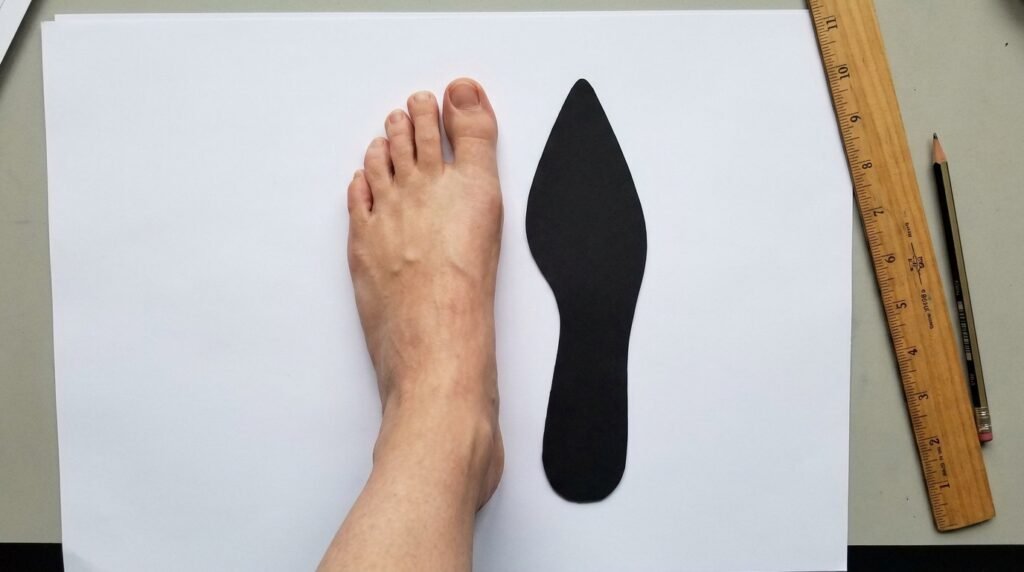
Never buy pointed-toe heels based on length alone. Pointed pumps taper inward; if your natural toe splay is wide, sizing up by half a size gives your metatarsals room to rest flat without overlapping. If the shoe is too long as a result, secure the heel counter with a padded grip rather than cramming your toes forward.
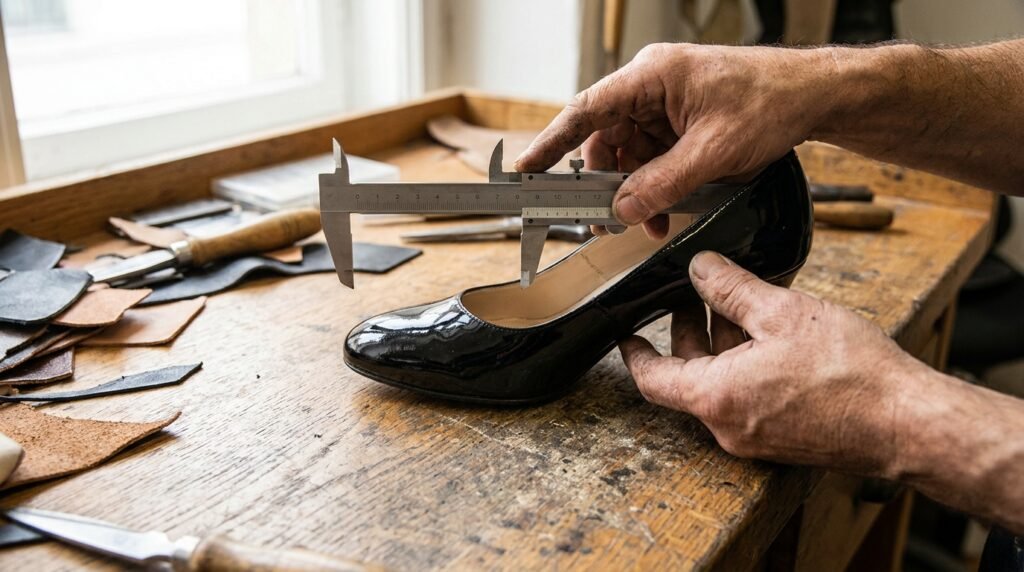
2. Measure the Incline Drop, Not Just the Vertical Heel
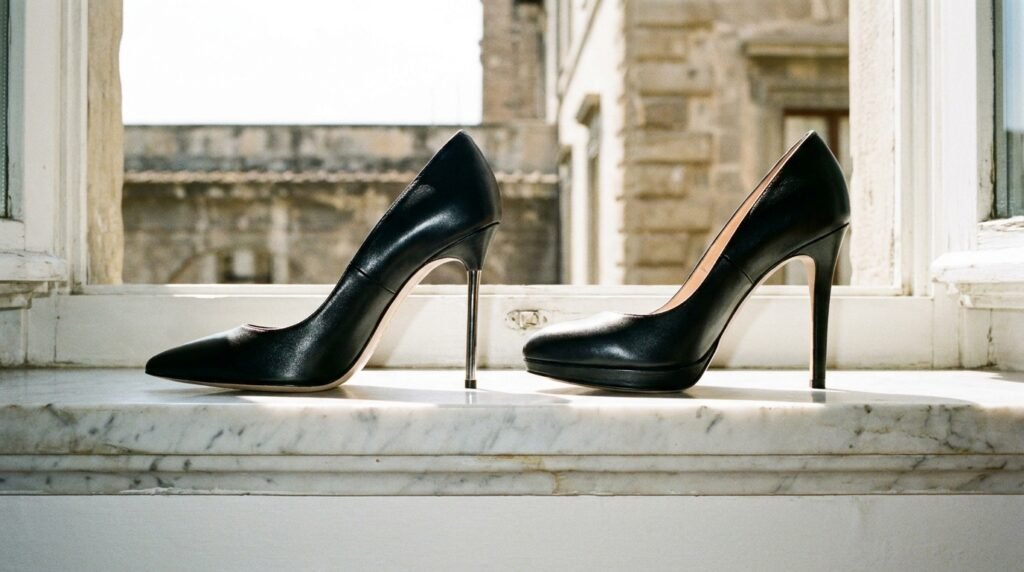
Before buying or wearing a pair, set the shoe on a flat table. Push down gently on the interior footbed where your arch sits. If the heel wobbles or the toe box immediately pitches upward, the balance shank is poorly calibrated. A shoe with an integrated 0.5-inch hidden platform reduces the functional pitch from an unbearable 4 inches down to a manageable 3.5 inches.
3. Break In Stiff Leather Using Controlled Thermal Expansion
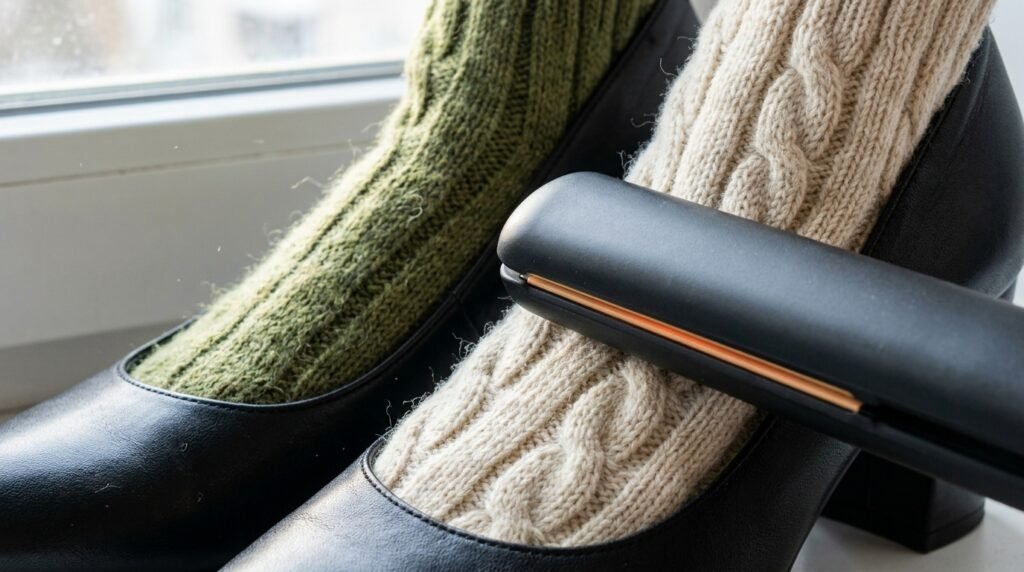
Real leather molds to foot warmth, but breaking them in during an important event is a recipe for tears. Put on a thick pair of wool socks, step into your stiff heels, and warm the tight areas (usually the vamp and toe box) with a hairdryer on medium heat for 60 seconds while flexing your foot. Keep the shoes on until the leather cools completely to lock in the new width.
Pressure Redistribution and Strategic Padding
4. Swap Out Foam for High-Density Medical-Grade Silicone
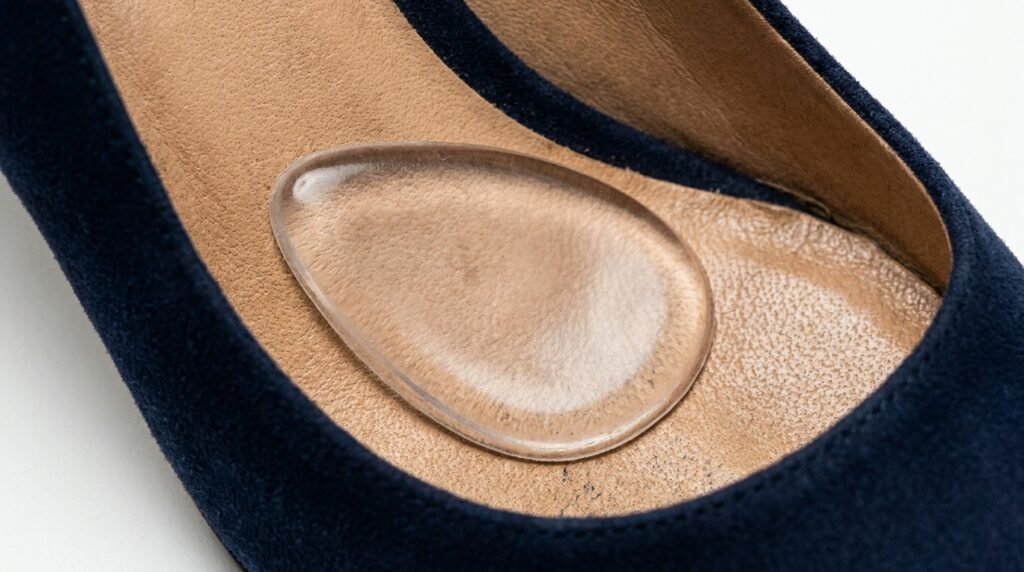
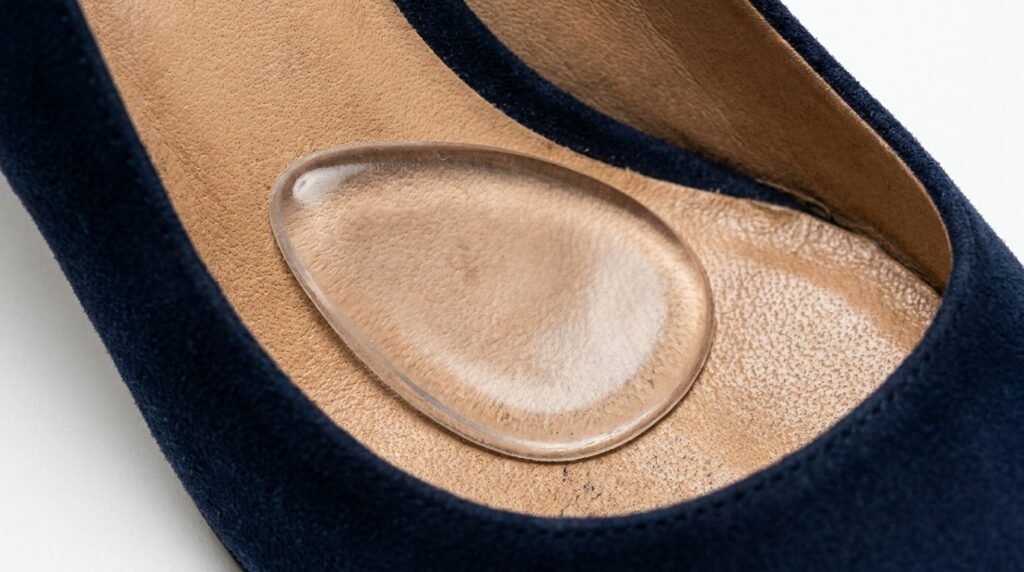
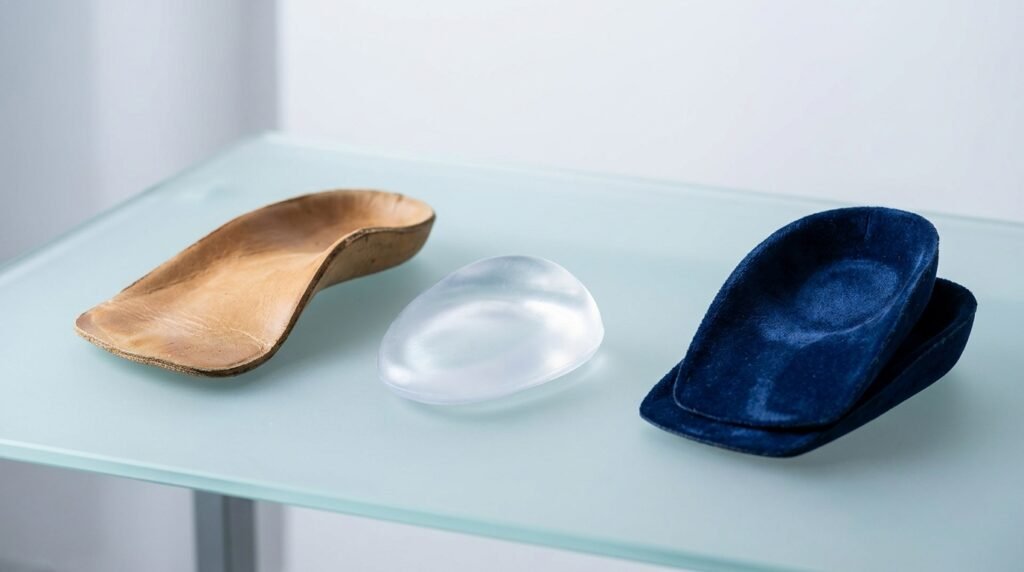
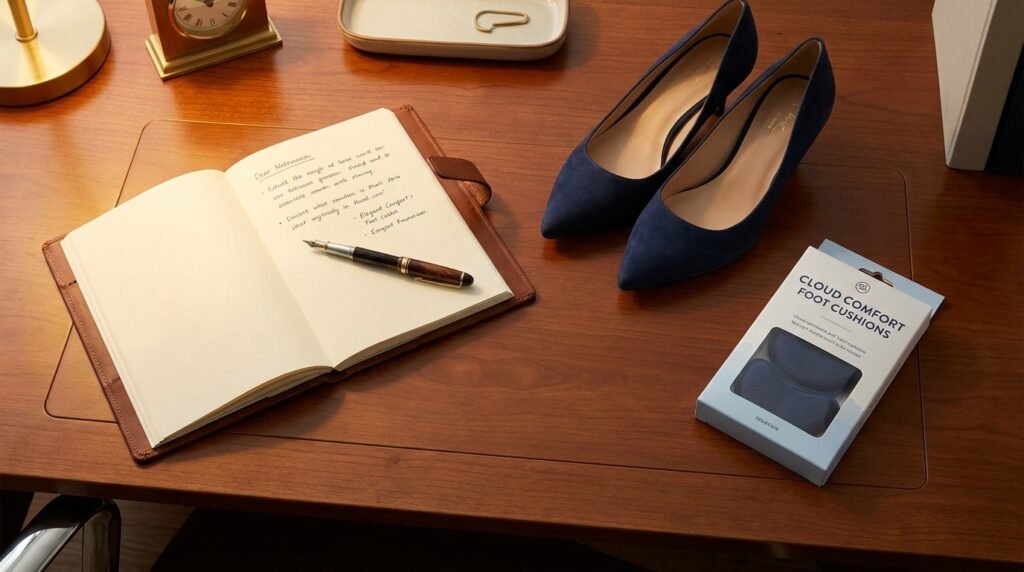
Generic drugstore foam cushions compress flat within 20 minutes under body weight, offering zero dampening. Medical-grade silicone or visco-elastic gel inserts do not bottom out. Place a teardrop-shaped metatarsal pad just behind the ball of the foot—not directly underneath it—to lift and spread your metatarsal heads naturally.
5. Install 3/4 Semi-Rigid Arch Supports
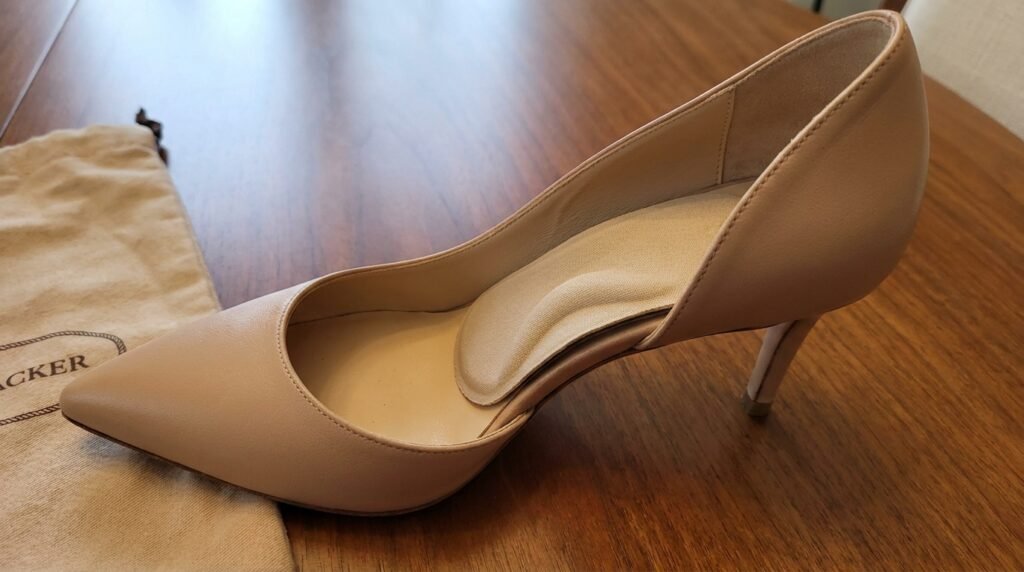
Most heels fail because the arch of the shoe floats hollow beneath the natural curve of your foot, suspending your arch in midair and forcing your heel and ball to absorb 100% of the shock. Inserting a slim 3/4 semi-rigid leather or composite arch bridge fills that negative space, immediately transferring a significant portion of your weight back into your arch.
6. The Medical Tape Nerve Decompression Technique
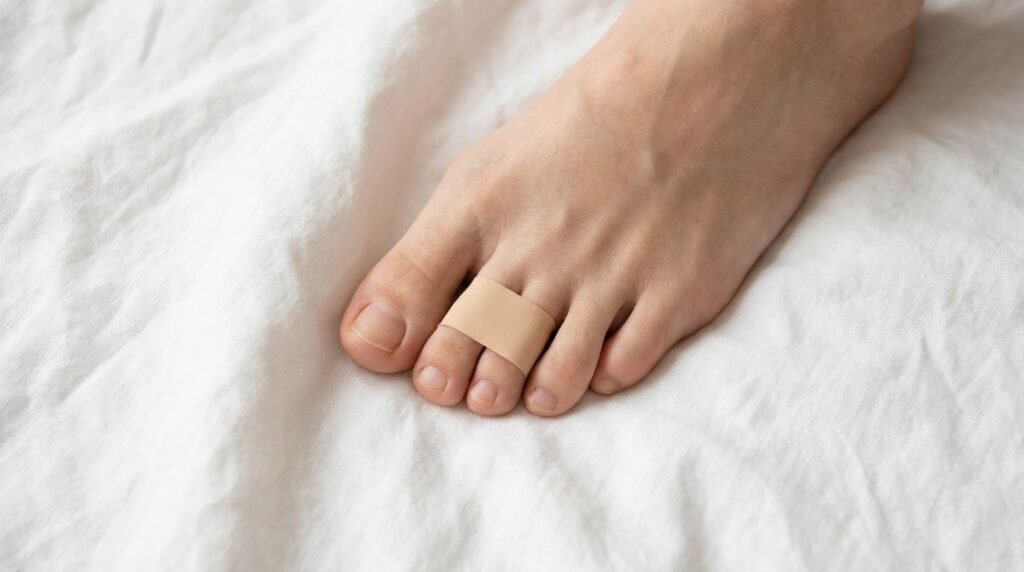
Taping your third and fourth toes together (counting from the big toe outward) using skin-safe medical paper tape or cohesive bandage is a proven backstage runway trick. A delicate sensory nerve bifurcates right between those two metatarsal heads. Elevating and stabilizing those toes minimizes the pinching that triggers burning forefoot nerve pain.
Eliminating Blisters and Shear Friction
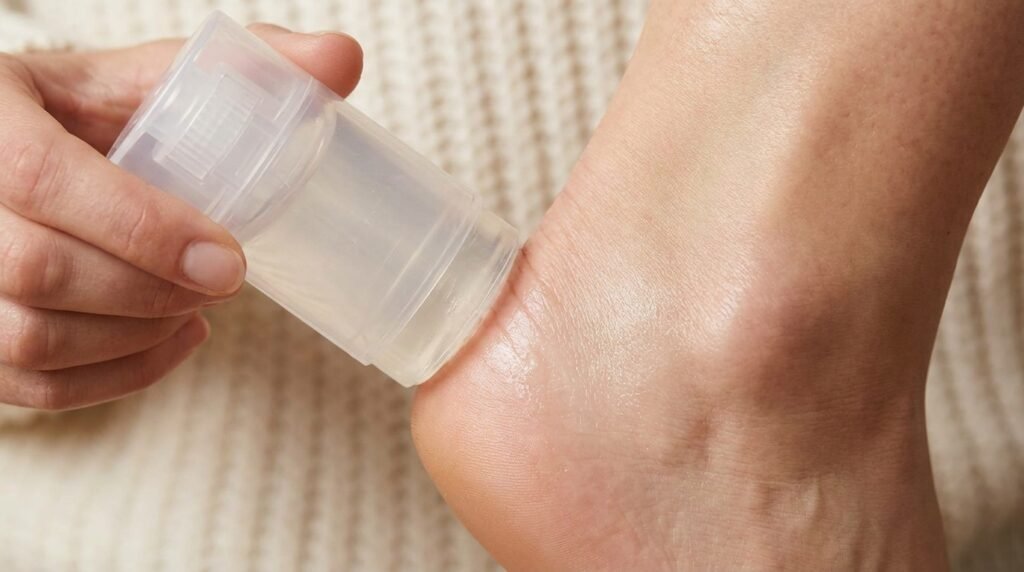
7. Pre-Treat High-Friction Zones with Anti-Chafing Wax
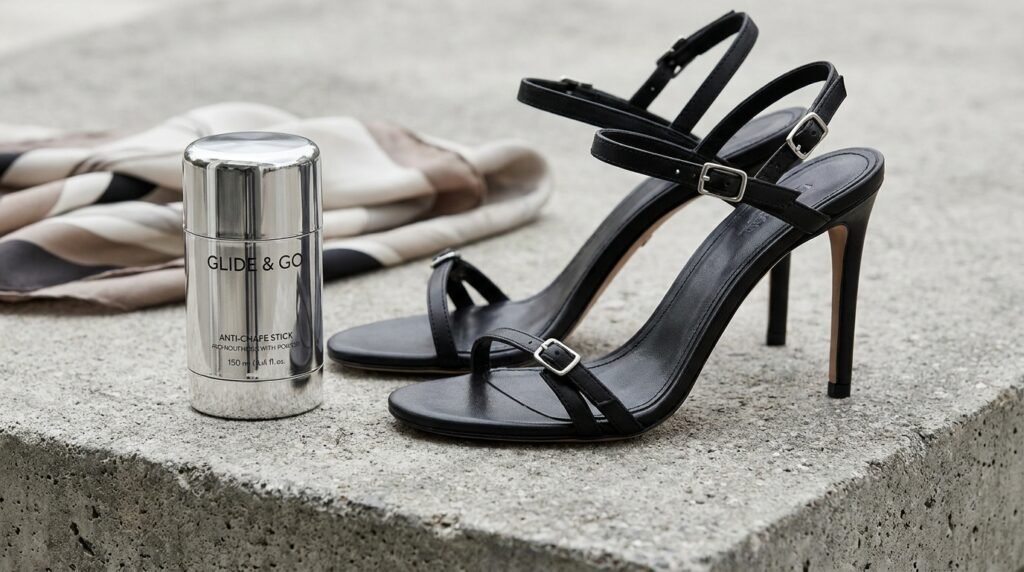
Blisters are formed by friction, moisture, and heat. Coat your heel counters, the tops of your toe knuckles, and the sides of your pinky toes with an anti-friction wax stick or solid silicone glide prior to putting your shoes on. The slick barrier allows the shoe lining to slide effortlessly over your skin without tugging.
8. Apply Moleskin to the Shoe Interior, Never to Your Skin
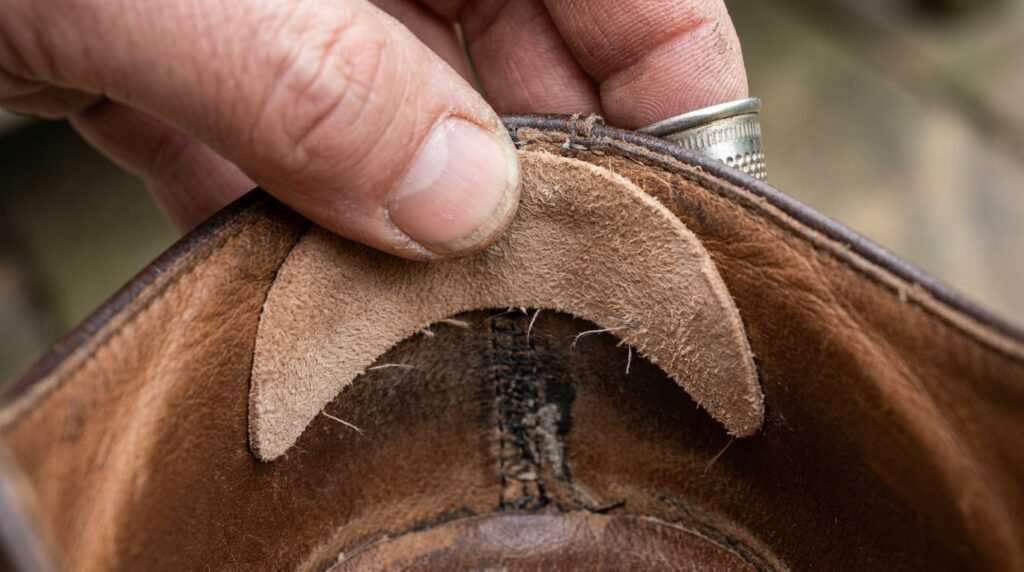
Adhering protective bandages to your skin often fails because sweat loosens the adhesive, causing the pad to roll up and form a painful ridge. Instead, locate the exact abrasive seam or edge inside your shoe and apply beveled moleskin directly to the shoe lining. It stays completely stationary throughout the entire day.
9. Anchor Your Heel with Padded Suede Grips
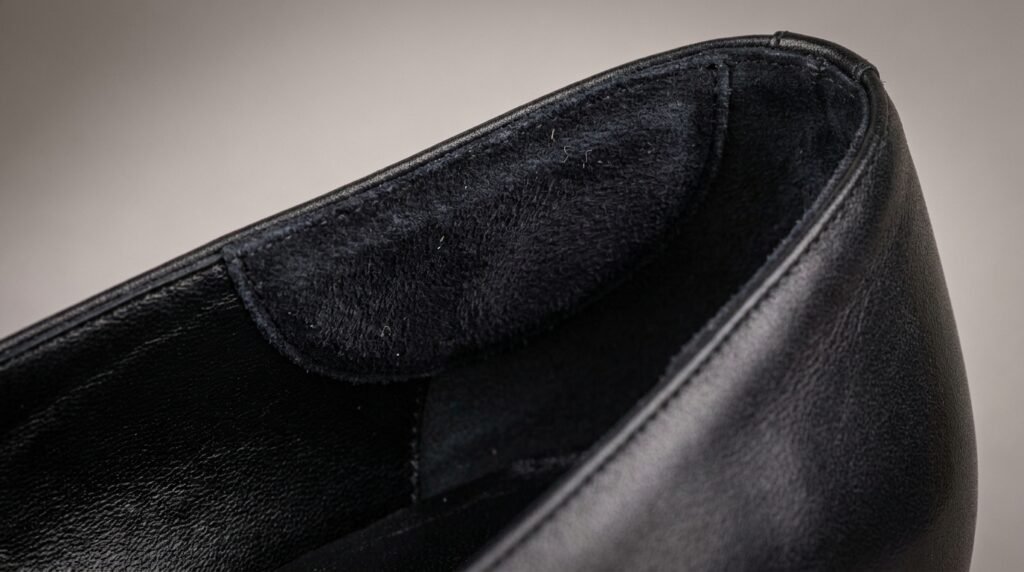
Heel slippage is a primary culprit behind Achilles blisters and clawed-toe gait. Install crescent-shaped suede heel cushions along the top interior collar of the shoe counter. The suede texture provides natural traction against nylon stockings and bare skin alike, locking your foot in place with every stride.
Walking Mechanics: Mastering the High-Heel Gait

10. Engage Your Core and Shift Your Center of Gravity Back

Walking in heels pushes your pelvis forward and arches your lower back, throwing your kinetic chain out of alignment. Engage your lower abdominal muscles, roll your shoulders back, and imagine a string lifting you from the crown of your head. Shifting your center of gravity slightly backward reduces the shearing force driving into your forefoot.
11. Implement the Heel-Flat-Toe Cadence
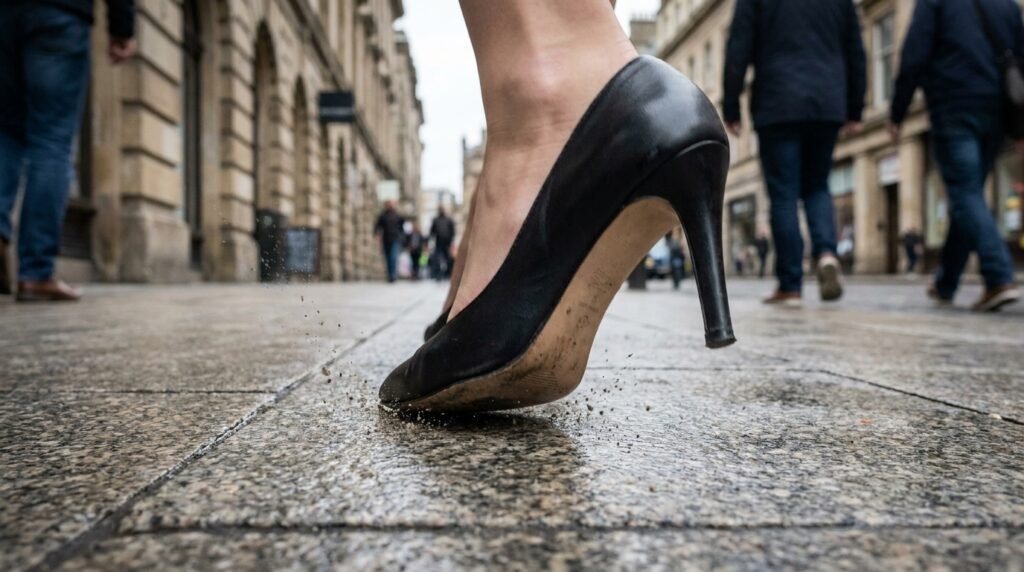
The biggest mistake people make in heels is trying to walk flat-footed or stomping toe-first like a runway model in an avant-garde show. Step down lightly on the heel base first, let the shoe immediately roll smoothly onto the ball, and push off gently through the toes. Keep your stride shorter than your natural flat-shoe stride to maintain continuous control.
12. Lead with Your Thighs Rather Than Your Knees
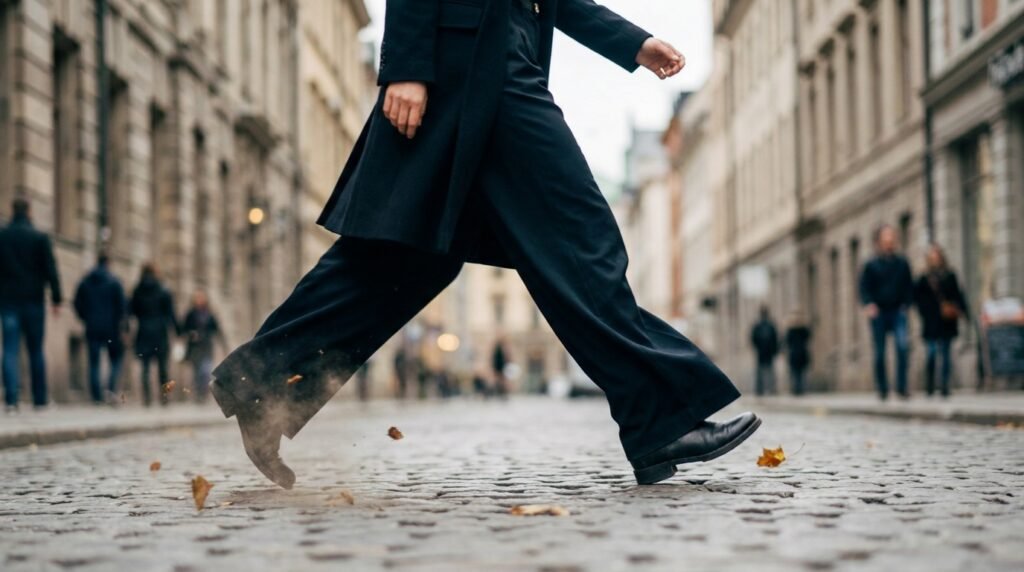
When you walk in flat sneakers, your lower legs swing forward freely from the knee joints. In heels, doing this causes your knees to stay bent, creating an awkward, heavy step that fatigues your quadriceps. Instead, lead each forward step from your hips and upper thighs, allowing your leg to straighten naturally before the heel contacts the ground.
Active Recovery and Mid-Day Foot Care
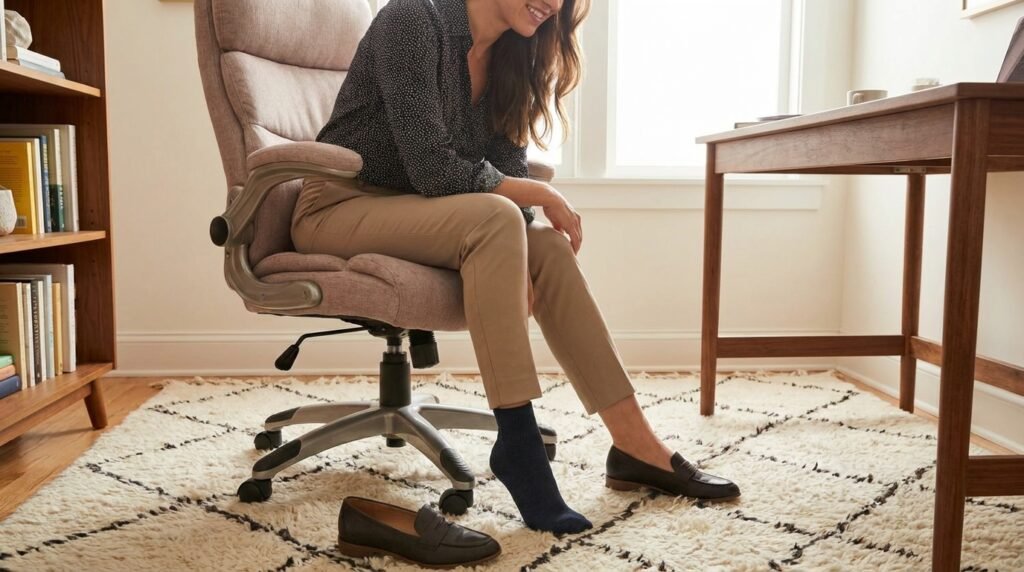
13. Perform the Calcaneal and Plantar Stretch During Breaks
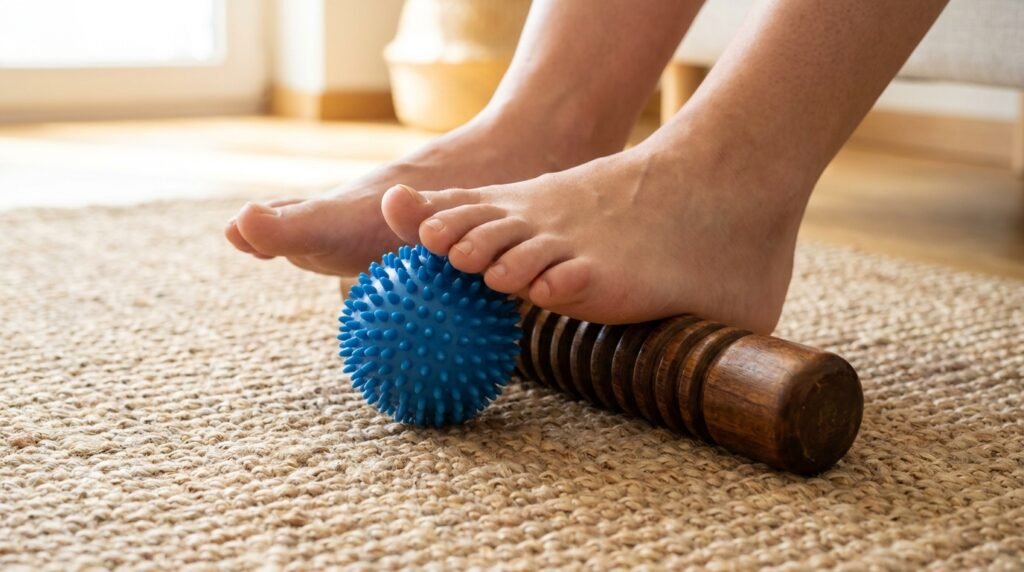
Whenever you have a private moment at your desk or in a restroom lounge, slip your heels off for three minutes. Flex your foot upward toward your shin, and manually pull your toes back to stretch your tight plantar fascia and Achilles tendon. This prevents painful cramping caused by your calf muscle resting in a chronically shortened state.
14. Keep an Event Emergency Pouch in Your Bag
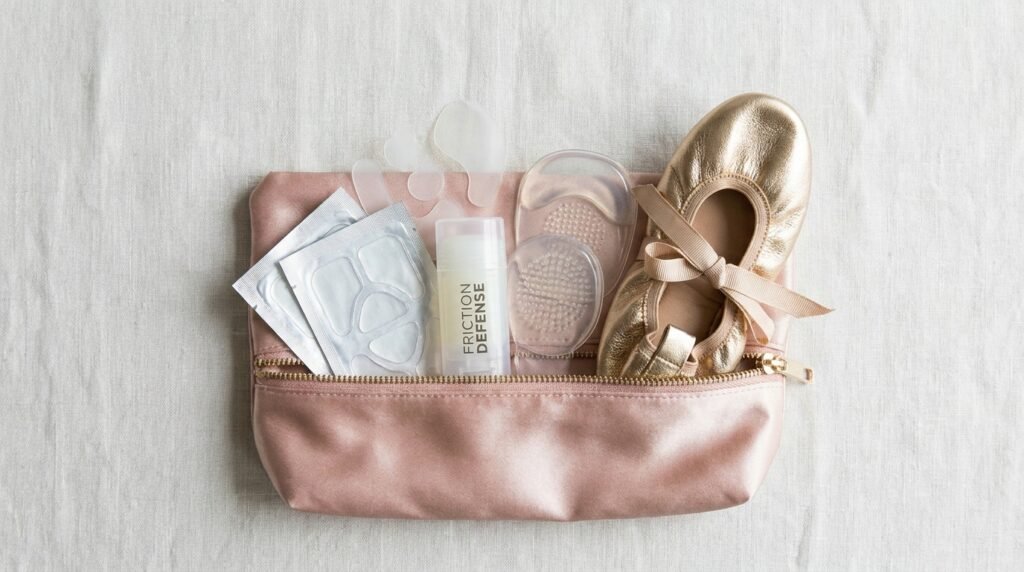
Preparation prevents a minor pinch from turning into a ruined night. Having a curated set of tactical tools on hand lets you solve hotspots the second they register.
- The Ultimate Event Footwear Emergency Pouch:
- Friction Defense Stick: Miniature anti-chafe stick for instant application on emerging hotspots.
- Pre-Cut Hydrocolloid Blister Bandages: Creates a second-skin sterile seal if a blister has already formed.
- Adhesive Silicone Metatarsal Dots: Peel-and-stick dots to place over specific pressure ridges.
- Roll of Hypoallergenic Medical Tape: For quick toe-stabilization adjustments.
- Foldable Roll-Up Flats: Compact backup footwear for your commute home once formal business concludes.
Quick Comparison: Shoe Styles Ranked by Comfort and Stability
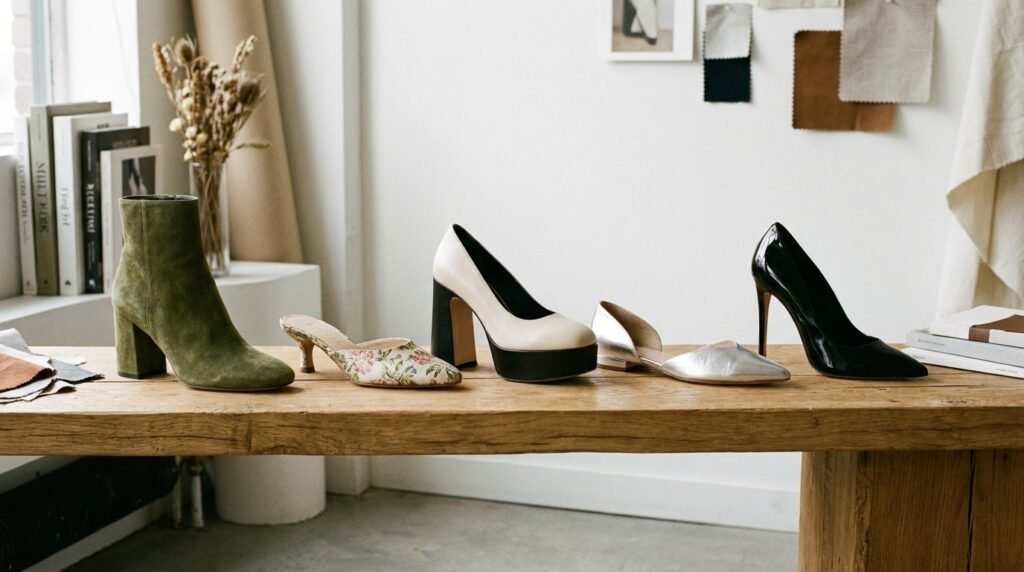
| Footwear Style | Pitch Severity | Forefoot Stability | Long-Wear Rating (1–10) | Best Structural Feature |
| Architectural Block Heel (2.5″) | Mild | High | 9.0 / 10 | Wide, balanced contact base |
| Sculptural Spool Kitten Heel (2″) | Minimal | Medium-High | 8.5 / 10 | Low elevation with sharp styling |
| Platform Stiletto (3.5″ + 0.75″ platform) | Moderate | Medium | 7.0 / 10 | Platform cancels out net pitch |
| Classic D’Orsay Pump (3.5″) | High | Low | 5.5 / 10 | Lacks lateral arch support |
| Single-Sole Pointed Stiletto (4″) | Severe | Very Low | 3.5 / 10 | Pure aesthetic; maximum load |
Frequently Asked Questions
Why do the balls of my feet burn when wearing heels?
The burning sensation is caused by metatarsalgia—excessive weight bearing concentrated on the delicate nerve endings and fatty tissue pads under your metatarsal bones. When high heel pitch forces up to 75% of your weight forward, these tissues compress. Using a high-density silicone metatarsal pad behind the ball of the foot restores space between the bones and eases pressure.
Does taping your third and fourth toes together really work?
Yes. A branch of the plantar nerve splits directly between your third and fourth toes. When wearing narrow, elevated shoes, the metatarsal bones squeeze together, compressing this nerve and triggering sharp burning pain or Morton’s neuroma symptoms. Taping these two toes together stabilizes the joint alignment and prevents the bones from pinching the nerve.
Can you stretch synthetic or faux leather heels to reduce pain?
Faux leather (polyurethane or PVC) possesses plastic memory, meaning heat or stretching methods that work on genuine leather will often cause faux leather to snap back or peel. You can slightly widen synthetic shoes by using a mechanical two-way shoe stretcher with widening plugs over 48 hours, but natural leather stretches significantly more effectively.
How high can heels be before they inevitably cause foot pain?
For most foot shapes, a vertical pitch of 2 to 2.5 inches (50mm to 65mm) maintains a healthy balance between elevation and natural biomechanics. Once a shoe surpasses 3 inches without a balancing platform, your ankle joint locks into plantarflexion, drastically altering your pelvic alignment and loading the forefoot beyond its natural shock-absorbing capacity.
What should I do if my heels slip out of the back of my pumps?
Heel slippage usually occurs because the shoe is slightly too long or the shoe sole is overly stiff, preventing the shoe from flexing with your foot. Install padded suede heel liners along the interior back collar and place a slim ball-of-foot insert in the front to push your foot gently back into the heel counter.
How can I make narrow pointed-toe heels more comfortable?
Choose pairs made from supple kidskin or calfskin rather than patent or stiff faux leather. Use a specialized toe-box stretcher with targeted bunion and pinky-toe corn attachments to widen the leather precisely where your widest toe joints sit, and ensure your stockings are completely seamless across the toes.
Conclusion

Mastering heels without pain requires viewing your footwear through a structural and ergonomic lens rather than enduring discomfort as an inevitable sacrifice. By reducing shoe pitch with platforms, securing loose heel counters, and placing medical-grade silicone inserts behind your metatarsals, you can wear sophisticated silhouettes without sacrificing physical wellbeing.

Emily started HeelToStyle after one too many pairs of boots sat unworn in her closet simply because she couldn’t figure out what to wear them with. What began as personal outfit notes turned into a full site dedicated to practical, wearable shoe styling. She leads content direction and writes most of the site’s occasion-based outfit guides.