
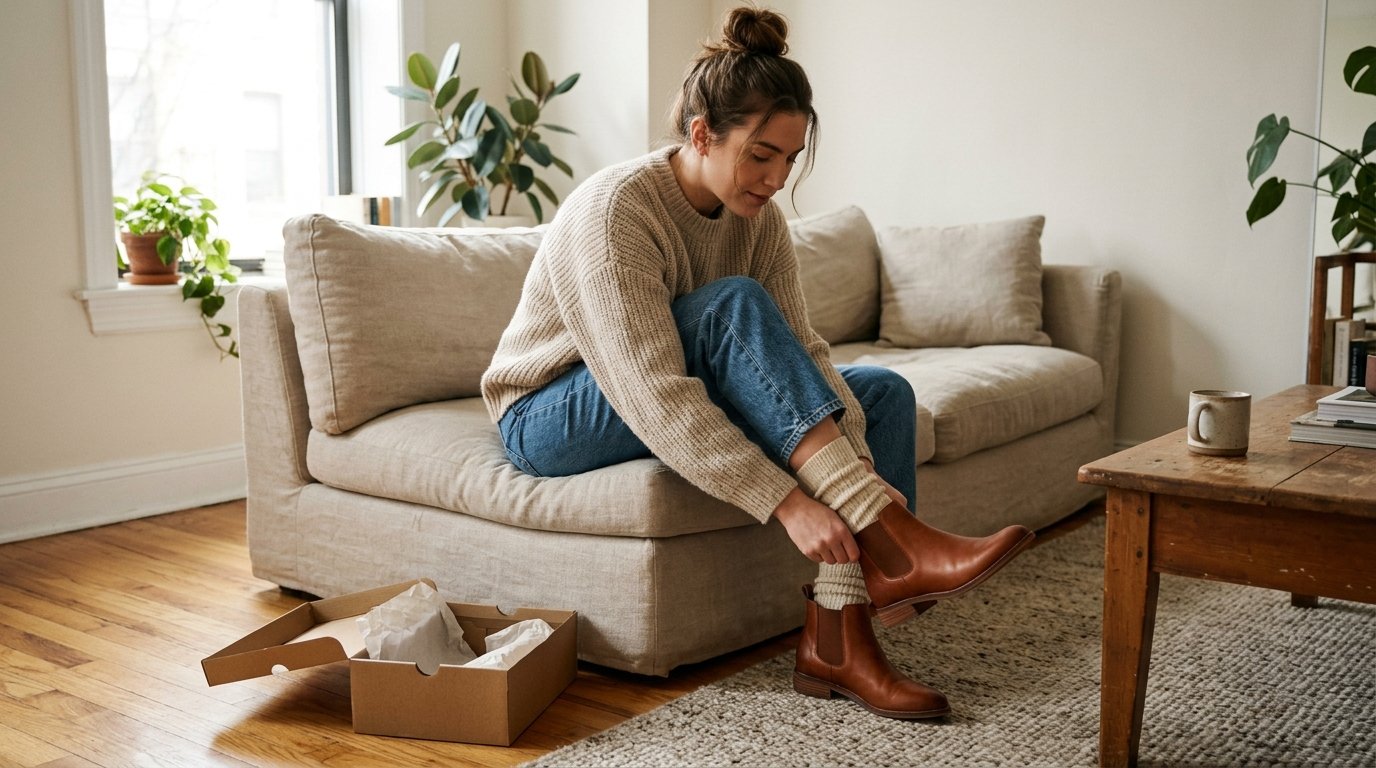
There is a brief, painful initiation period that comes with almost every pair of genuine leather boots. You fall in love with the silhouette on the shelf, but the moment you step outside, stiff leather pinches your heels and presses against your toes, making you question your entire footwear purchase. Breaking in new leather boots does not have to mean resigning yourself to weeks of blisters, bandages, and throbbing feet.
The secret to a painless transition lies in a gradual, methodical approach that relaxes the hide naturally without destroying its structure. In this guide, you will learn how to verify your initial fit, a step-by-step break-in routine, safe ways to soften stiff areas, and what common shortcuts you should avoid to keep your favorite boots looking and feeling great for years.
1. Before You Start: Check the Fit (Toes, Heel Slip, and Width)
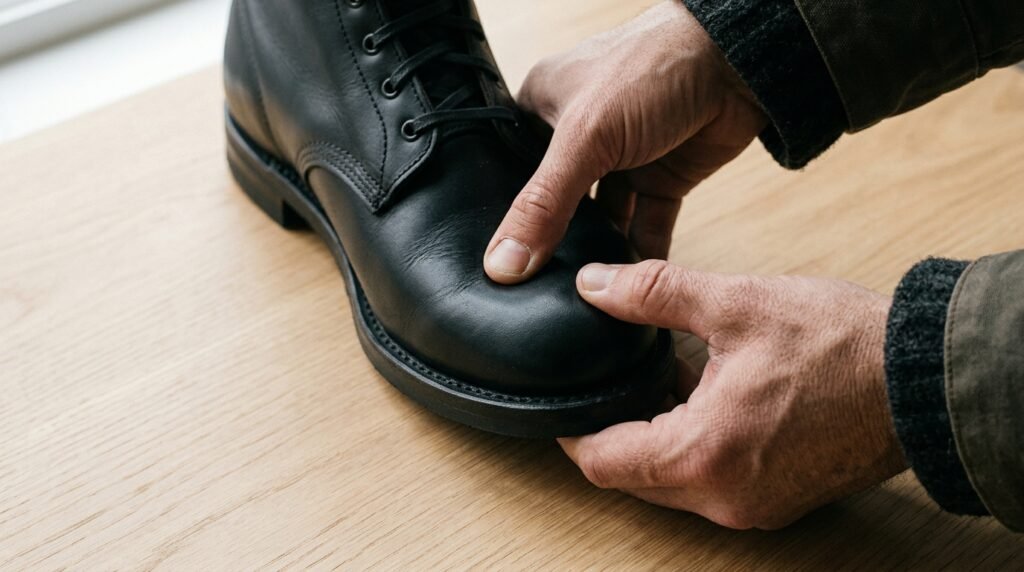
Before you attempt any break-in tricks, you need to establish a hard truth: breaking in a boot can soften leather and stretch tight widths slightly, but it will never turn a boot that is too small into a comfortable pair of shoes. If your toes are jammed against the front wall or your arches feel misplaced, no amount of wearing will fix a sizing error.
- Check toe room: Stand up and press your thumb against the front of the boot. You should have about a thumb’s width of space between your longest toe and the tip.
- Evaluate heel slip: A tiny bit of vertical heel lift (about a quarter-inch) is normal in brand-new, stiff-soled boots because the sole hasn’t flexed yet. However, if your heel slides up and down drastically with every step, you may need a different size or a heel grip.
- Assess width pressure: The sides of your feet should feel snugly held, not pinched. If the leather spills significantly over the welt or causes sharp pain along the widest part of your foot, consider exchanging them for a wide width.
2. Step 1: Wear Them at Home With Thick Socks

The safest place to begin your break-in journey is inside your own living room, far away from any situation where you might get stranded with debilitating foot pain.
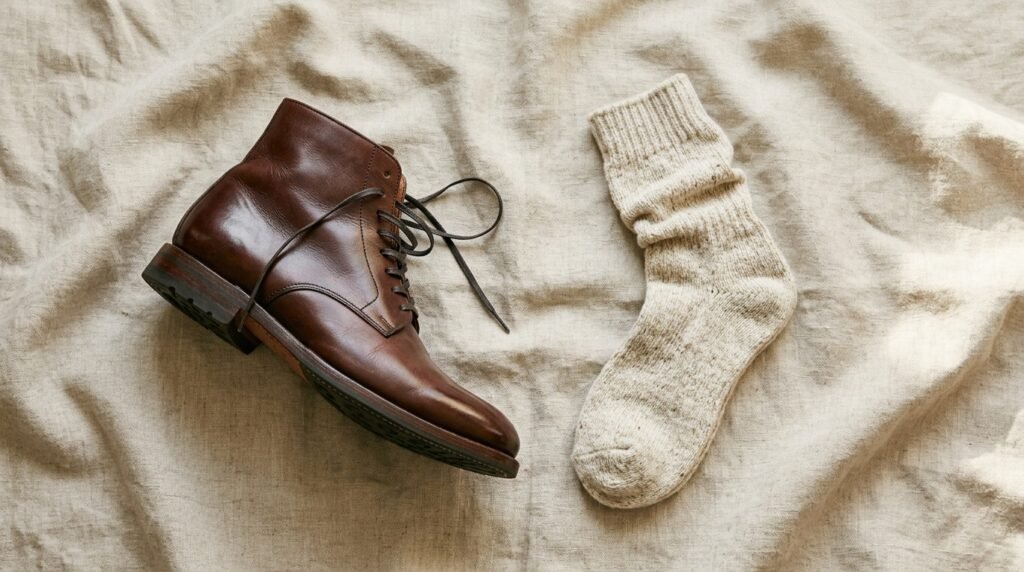
- Layer up: Slip on a pair of thick, cushioned wool socks or two pairs of standard cotton socks. This adds a protective layer and gently pushes against tight spots to expand the leather slightly.
- Keep sessions short: Wear the boots around the house for 20 to 30 minutes at a time while you watch television, fold laundry, or work at your desk.
- Listen to your feet: The moment you feel a hot spot or sharp pinch developing, take the boots off immediately. Do not wait for a blister to form. Repeat this process over several days, gradually extending your indoor wear time.
3. Step 2: Protect Blister-Prone Spots and Target Stiffness
Even with thick socks, certain high-friction areas like your heels and ankles may test your patience during the first few wears. Proactive defense is key.
- Apply preventive barriers: Place moleskin strips, blister bandages, or silicone heel grips inside the boots or directly on your feet before putting the boots on.
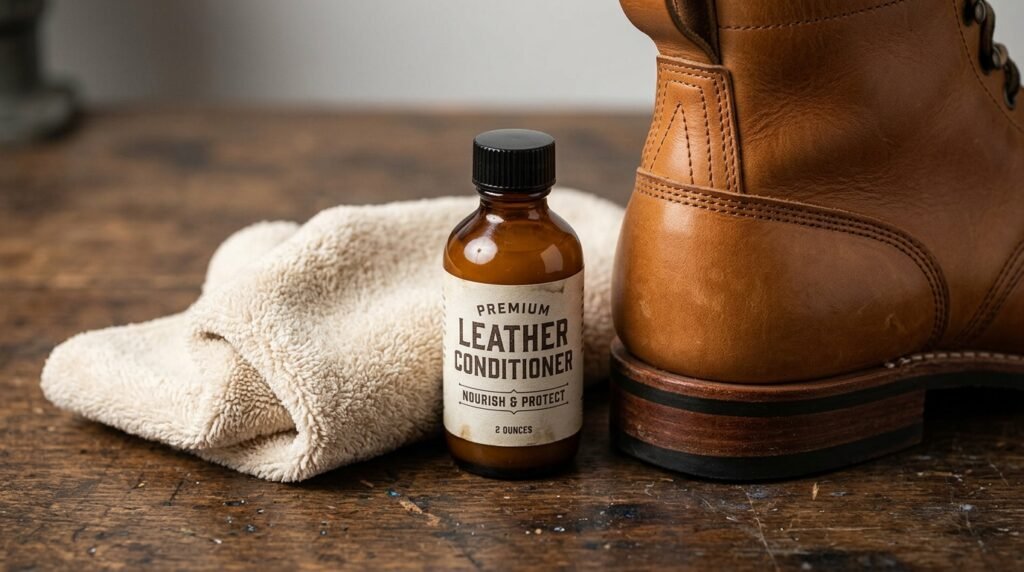
- Condition stiff exterior areas: If specific zones—such as the ankle collar or the bend across the top of your foot—feel like cardboard, apply a small amount of leather conditioner [The Leather Conservation Centre – Care and Maintenance of Footwear]. Gently massage it into the exterior hide using a soft cloth to nourish the fibers and help them relax.
- Use targeted tools: If a specific seam or the heel counter feels unforgiving, use a wooden spoon handle or a smooth tool to gently massage and flex the stiff leather from the inside out.
4. How to Soften Stiff Leather Boots Safely
When dealing with exceptionally rigid full-grain leather, you might be tempted to reach for household hacks you have seen online. However, harsh methods can permanently ruin the finish and weaken the structural integrity of the boot.
- Use a dedicated leather conditioner: High-quality leather conditioners or natural mink oil soften stiff fibers safely while preserving the water-resistant qualities of the hide. Always test a tiny, hidden spot on the inner boot first, as conditioning can darken some lighter leathers [The Shoeshine Guild – Leather Preservation and Conditioning Standards].
- Try a professional stretching spray: If the boots feel uncomfortably snug across the instep or sides, a specialized boot-stretching spray relaxes the leather fibers temporarily as you wear them.
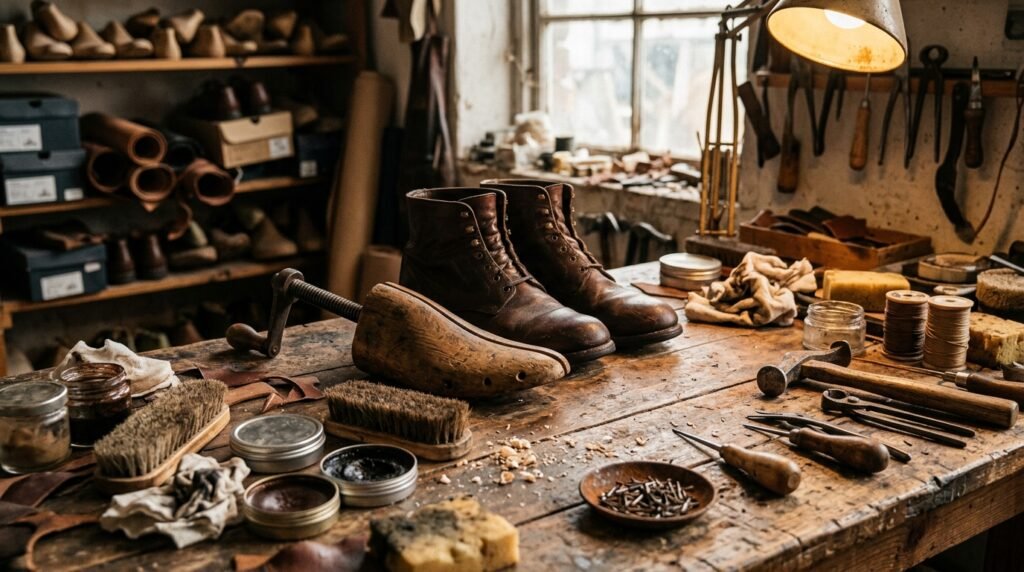
- Visit a local cobbler: If a specific spot remains painfully tight after a couple of weeks of consistent wear, take them to a professional cobbler. They can use mechanical stretchers to expand exact trouble spots safely without damaging the seams.
5. What NOT to Do: Common Break-In Mistakes to Avoid

In an effort to speed up the process, many people turn to aggressive internet shortcuts that often backfire. Avoiding these common mistakes will save your boots from premature destruction.
- Never soak your boots in water: While some swear by soaking leather boots in warm water and wearing them dry, this method strips natural oils, rots the stitching, rusts internal steel shanks, and causes the leather to shrink and crack as it dries.
- Avoid direct high heat: Never use a hairdryer, heat gun, or place your boots directly against a radiator or heater to speed up drying or softening. Direct heat bakes the natural moisture right out of the leather, leading to severe cracking and irreparable damage.
- Do not wear them for an all-day excursion on day one: Wearing brand-new, unbroken boots on a full day of walking or a long travel transit day is a guaranteed recipe for severe blisters and ruined plans. Always earn your way up to all-day wear.
6. Tailoring Your Routine: Tips by Boot Type

Different boot silhouettes present unique structural challenges during the break-in phase. Tailoring your approach to the specific style ensures better results.
- Ankle boots and booties: These usually feature shorter shafts, meaning your primary focus will be softening the front ankle crease and the heel counter. A small heel grip is often all you need to prevent rubbing.
- Knee-high boots: Taller boots require attention along the calf and the instep. If the shaft feels snug, store them upright with boot shapers rather than letting them slump over, which can create awkward creases.
- Cowboy and western boots: Traditional western boots feature rigid leather counters and pull straps. Expect a firmer initial fit across the instep (the “bridge” of your foot); as you walk, your foot will naturally settle into the footbed, causing the heel slip to disappear entirely over time.
Frequently Asked Questions
How long does it take to break in leather boots?
It varies by boot and leather, but most people need a couple of weeks of short, regular wear [The Shoeshine Guild – Footwear Break-In and Leather Adaptation]. Stiffer or heavier leather can take longer.
What is the fastest safe way to break in leather boots?
Wear them for short sessions at home with thick socks, then build up to longer outings. Pad hot spots to prevent blisters.
Can you use a hairdryer to break in boots?
I would advise against it. Direct heat can dry out and crack leather. If you try it, use only low, brief warmth, and check the boot maker’s care advice [The Leather Conservation Centre – Care and Maintenance of Footwear].
Does leather conditioner help break in boots?
It can soften stiff leather and keep it flexible, but test it on a hidden spot first, since it can darken some finishes [The Shoeshine Guild – Leather Conditioning Best Practices].
When should you see a cobbler?
If one spot stays painfully tight after a few weeks, a cobbler can stretch it professionally.
Should you wear thick socks to break in boots?
Yes. Thick wool socks or layered socks stretch the leather slightly while providing a cushion that prevents friction and blisters during those crucial first indoor wear sessions.
Conclusion

Breaking in new leather boots is a temporary hurdle that stands between you and years of versatile, stylish wear. By checking your initial fit, taking a gradual approach with thick socks at home, protecting vulnerable skin, and avoiding harsh heat shortcuts, you can skip the pain entirely. Treat your leather with care, give your feet time to adjust, and you will enjoy a comfortable, perfectly molded fit that gets better with every season.

Nathan handles the site’s dressier content and its more practical side — from wedding-guest shoe pairings to keeping your favorite pair looking new for longer. He believes good style shouldn’t mean uncomfortable shoes, and most of his posts reflect that balance between looking good and actually being able to walk in it.